In WordPress, a slug is the bit of text that appears after your domain name in the URL of a page. Essentially, it’s the part of your site’s URL that identifies every single page on your site (except for the homepage). For example, on this article, it’s “how-to-change-guest-author-slug”.
By default, every single public page on your WordPress site, including posts, pages, categories, and author archives, has its own slug. And in one form or another, you have full control over every single slug on your WordPress site.
Slugs play an important role in search engine optimization and usability, so they are definitely something you want to consider.
So if you want to edit the slug for any guest author, this quick tutorial shows you how to.
What Can You Put in WordPress Slugs?
Because slugs are part of a site’s URL, you should follow some basic best practices:
- Replace spaces with dashes
- Use only lowercase letters
WordPress will actually automatically correct these issues for you. We mention them only so that you’re not confused when WordPress replaces spaces with dashes or makes your capital letters lowercase.
How to Set Guest Author Slug?
If you add a new guest author, WordPress automatically generates the slug from the Display Name, separating each word using hyphens. If the Display Name field is left empty, then First Name and Last Name fields are taken.
So if you add a new guest author whose Display Name is Johnny Doe, then the slug for that guest author would be “johnny-doe”. If you fill in First Name as “John” and Last Name as “Doe”, but leave empty the Display Name, then the slug would be “john-doe”.
How to Change Guest Author Slug?
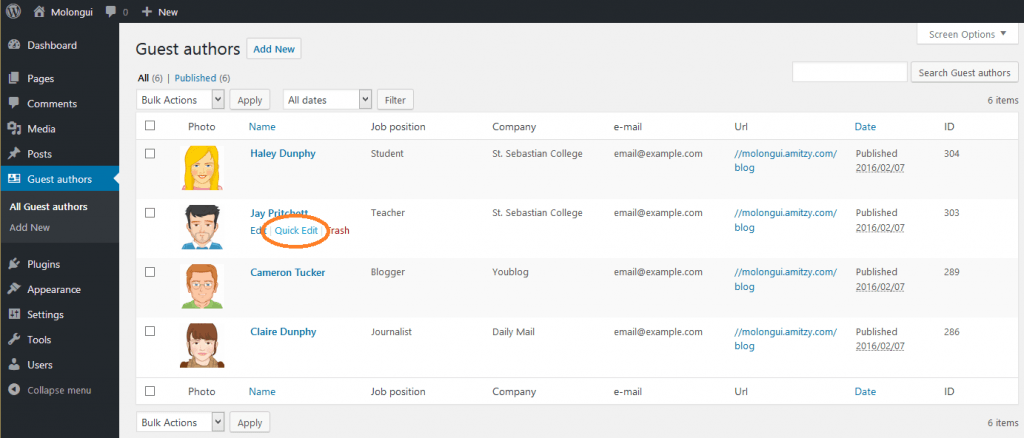
Once you have added a new guest author, its slug can be changed from the Guest Authors page by clicking on the Quick Edit button below a guest author name. This opens the quick editor where you can change the guest author slug among other things.
- Go to Guest authors > All guest authors.
- Place the mouse over the guest author you want to edit. Some quick links will be displayed under guest author’s name
- Click on the “Quick Edit” option.
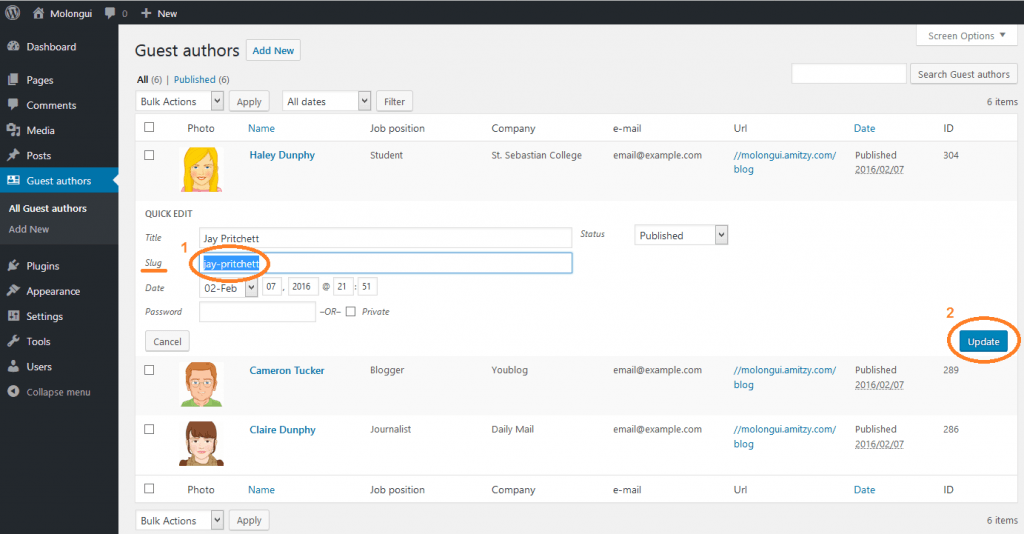
- Use the “Slug” field to change the current guest author slug.
- Click on the “Update” blue button on the right.
- Done!
Be Careful Changing WordPress Slugs At a Later Date
One area you need to be careful with is changing the slug for content after you’ve created it. Whenever you change the slug for a piece of content, anytime someone tries to reach that content by visiting the URL with the original slug, they might have trouble accessing your content.
For posts and pages, WordPress will try to automatically redirect users to the new slug. And while this works most of the time, it doesn’t always do. In which case you will need to setup a redirect to your new URL. Why? Because you don’t want the visitors to end up on a 404 page, and for SEO purposes you will want to retain any link juice that the page/slug has built up by using a 301 redirect.